Teaching a Chow Chow to Have Its Ears Checked
It’s a scenario many Chow Chow owners know all too well: the dreaded ear check. You know it's vital for their health, especially with their dense coats and unique ear structure, but your beloved Chow sees it as a personal affront. Trying to inspect or clean those ears can feel like defusing a bomb, often met with head-shaking, backing away, or even a snap. This guide is here to walk you through a patient, trust-building approach to teaching your Chow Chow to not just tolerate, but accept, having their ears checked, making vet visits and home care a much less stressful experience for everyone involved.
Why Ear Checks Are So Challenging for Chow Chows
Let's be real, Chows aren't exactly known for their boundless enthusiasm for being handled, especially in sensitive areas. Understanding why they react this way is the first step toward finding a solution that respects their unique temperament. It's not usually about malice; it's about their inherent nature and, sometimes, past experiences.
The Chow Chow's Natural Disinclination to Handling
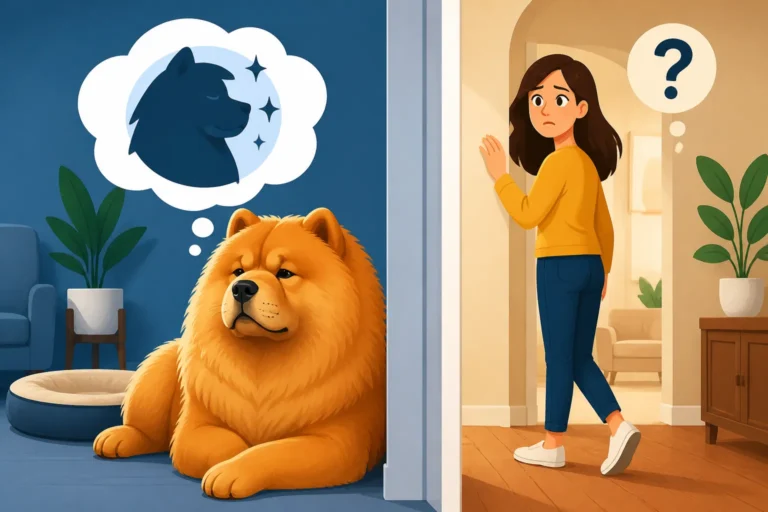
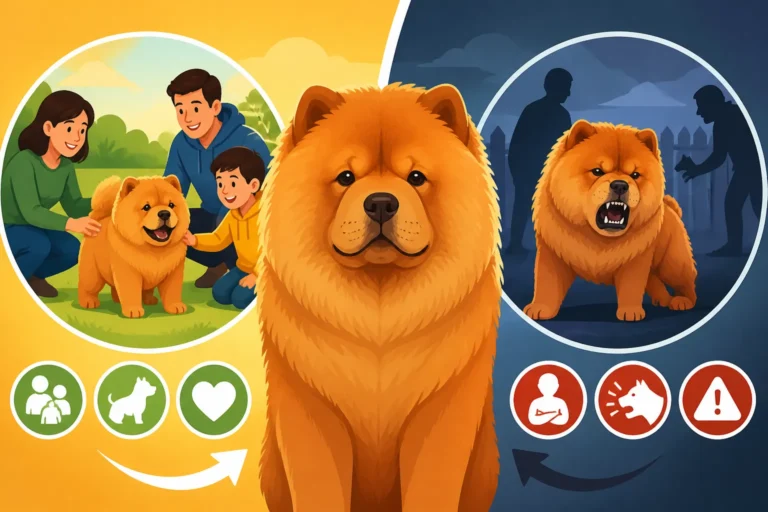
Chow Chows are a breed built on independence and dignity. They are not typically the type of dog that relishes being fussed over or having their personal space invaded, particularly by strangers or even family members doing something uncomfortable. This isn't aggression in the way many people perceive it; it's often a deep-seated desire for control over their own bodies and an aversion to vulnerability.
Imagine being approached by someone wanting to peer into your ears – it feels intrusive, right? For a Chow, who often prefers to observe rather than participate, and who might already be wary due to their limited peripheral vision, a sudden grab for their ears can trigger their guarding instincts. They bond fiercely with their chosen person, but even then, intimate handling can be a challenge. They also tend to be stoic, making it hard to tell when they are genuinely in pain versus just being resistant. This means you might not even realize there's an underlying issue until the resistance becomes quite pronounced, which further complicates the process. They are incredibly adept at Why a Chow Chow Hides Pain, so you really have to pay attention to subtle cues.
Anatomical Factors and Previous Bad Experiences
Beyond temperament, there are physical reasons why ear checks can be tough. Chow Chows have those adorable, small, rounded ears, often nearly buried in their thick double coat. This dense fur can make it difficult to even find the ear opening, let alone clean it, without feeling like you're wrestling a furry cloud. The ear canals themselves can sometimes be narrower, contributing to potential issues that make touching them uncomfortable. Furthermore, the lack of airflow due to their coat can make them prone to ear infections, which are painful and can create a lasting negative association with ear handling.
If your Chow Chow has ever had an ear infection, an ear mite infestation, or even just been handled roughly in the past (perhaps at a grooming salon or a hurried vet visit), they will remember that pain or discomfort. Dogs don't forget easily, and a single bad experience can create a strong aversion that takes considerable time and patience to undo. This is especially true for a breed like the Chow Chow, where trust is hard-won. If they've had a traumatic incident, even the sight of an ear cleaner or the sound of you preparing for a check can trigger anxiety. It's important to recognize that their resistance isn't just stubbornness; it could be a protective measure against anticipated pain or discomfort. It's also worth noting that a narrow ear canal (Whether a Chow Chow's Ear Canal Is Narrow) can predispose them to needing more frequent attention, making this training even more critical.
Laying the Foundation: Building Trust and Positive Associations
The key to successful ear checks with a Chow Chow isn't force; it's building a foundation of trust and making the experience overwhelmingly positive. This requires patience, consistency, and a deep understanding of how your Chow learns.
Start Early and Make it a Game
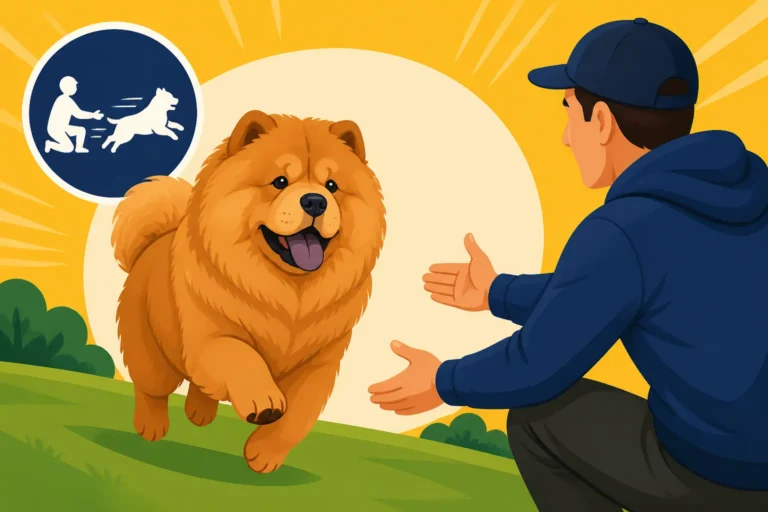
If you're lucky enough to have a Chow Chow puppy, start this process immediately. Their socialization window is crucial, and introducing gentle handling early on can make all the difference. Think of it less as a chore and more as a fun game where good things happen when their ears are touched.
Begin by simply touching their shoulder or side, then immediately giving a tiny, high-value treat – something they absolutely adore, like a piece of cooked chicken, cheese, or even a smear of peanut butter on a spoon (check ingredients for xylitol first!). Don't aim for the ear right away. The goal is to create a positive association with any touch. Keep these sessions short, no more than a minute or two, especially with a puppy. You want to leave them wanting more, not overwhelmed. As they get comfortable with general handling, you can slowly move your touch closer to their head and ears. Every touch, no matter how brief or indirect, should be followed by a reward. This process is similar to How Many Car Rides a Chow Chow Puppy Needs, where the goal is to make a potentially stressful experience positive through gradual exposure and rewards. For structured guidance, online training programs like BAXTER & Bella can offer excellent step-by-step videos and support for early socialization and handling desensitization.
Desensitization and Counter-Conditioning Techniques
Desensitization means gradually exposing your Chow to the scary thing (ear touching) at a level they can tolerate, while counter-conditioning means changing their emotional response to it from negative to positive. This takes time, often weeks or even months, but it's worth every moment.
Here’s a general progression you can follow:
- Introduce the presence of your hand: Sit next to your Chow. Touch their back or chest gently. Immediately give a high-value treat. Repeat several times.
- Move closer to the head: As they relax with step 1, move your hand towards their neck, still rewarding with treats.
- Briefly touch the ear flap: Gently stroke the outside of their ear flap for just a second. Immediately give a treat. If they pull away, go back to the previous step. The key is to keep the duration so short that they barely register it before the treat arrives.
- Lift the ear flap slightly: Once they are comfortable with external touching, gently lift the ear flap for a split second, just enough to glimpse the opening. Immediately reward.
- Increase duration: Gradually increase the time your hand is on their ear, or the ear flap is lifted, by fractions of a second. Always pair it with treats.
- Introduce an ear-cleaning tool (without using it): Let them sniff the ear cleaner bottle or a cotton ball. Give a treat. Repeat this several times over different sessions. The goal is to make the sight and smell of these objects predict treats, not discomfort.
- Simulate the ear check: With a cotton ball, gently touch the outside of the ear canal. Reward. Then, very briefly, touch the inside rim of the ear canal with the cotton ball. Reward heavily. Never stick anything down the ear canal itself unless directed by a vet for cleaning or medication.
Remember, if your Chow shows any signs of stress – lip licking, yawning, turning their head away, tensing up – you’ve gone too fast. Stop, take a break, and try again at an easier step next time. Consistency is more important than speed. Keep training sessions brief, maybe 5-10 minutes max, to prevent boredom or frustration. How Long a Chow Chow's Training Session Should Be is always short and sweet to keep them engaged.
Essential Tools and Techniques for Successful Ear Checks
Having the right tools and a clear, gentle technique can make a world of difference when it comes to checking your Chow Chow's ears. It's about preparedness and minimizing discomfort.
Choosing the Right Environment and Equipment
Before you even think about touching your Chow's ears, set yourself up for success.
- Quiet Space: Choose a calm, quiet area where there are no distractions. A familiar room, perhaps where they usually relax, is ideal.
- Good Lighting: You need to be able to see clearly inside the ear. Natural light is great, or a well-lit room. A small, soft-beam flashlight can be useful for peering into the canal, but avoid shining it directly into their eye.
- High-Value Treats: We can't stress this enough. These need to be tiny, highly palatable, and given immediately after the desired behavior. Think cooked chicken, small bits of cheese, or soft training treats like those available on Amazon. For a Chow, Which Treat a Chow Chow Will Work Hardest For is often something meaty and stinky.
- Veterinary-Approved Ear Cleaner: Never use rubbing alcohol, hydrogen peroxide, or human ear drops. Always get a specific ear cleaner recommended by your veterinarian. They can guide you on the best type for your Chow's specific needs, especially if they are prone to allergies or infections.
- Cotton Balls or Gauze Pads: These are for wiping the outer ear and the visible parts of the canal. Absolutely never use cotton swabs (Q-tips) to go deep into the ear canal, as this can push debris further in or even damage the eardrum.
- Optional: A Grooming Table: If your Chow is comfortable with it, a stable grooming table can put them at a comfortable height for you, reducing strain on your back and sometimes making the Chow feel more secure than being on the floor. Just ensure it's non-slip and they are accustomed to being on it for other grooming tasks, similar to Teaching a Chow Chow to Be Brushed.
Step-by-Step Ear Check Protocol
Once you've done the desensitization work and have your supplies ready, here's how to conduct an actual ear check:
- Gather Supplies: Have everything within easy reach: treats, cleaner, cotton balls.
- Get Your Chow Comfortable: Encourage them to lie down or sit beside you in your designated calm spot. Offer a few "free" treats just for being there and relaxed.
- Initial Gentle Touches: Start with familiar, comforting touches on their back and neck, gradually moving towards their head and ears, pairing each touch with a treat, as practiced during desensitization.
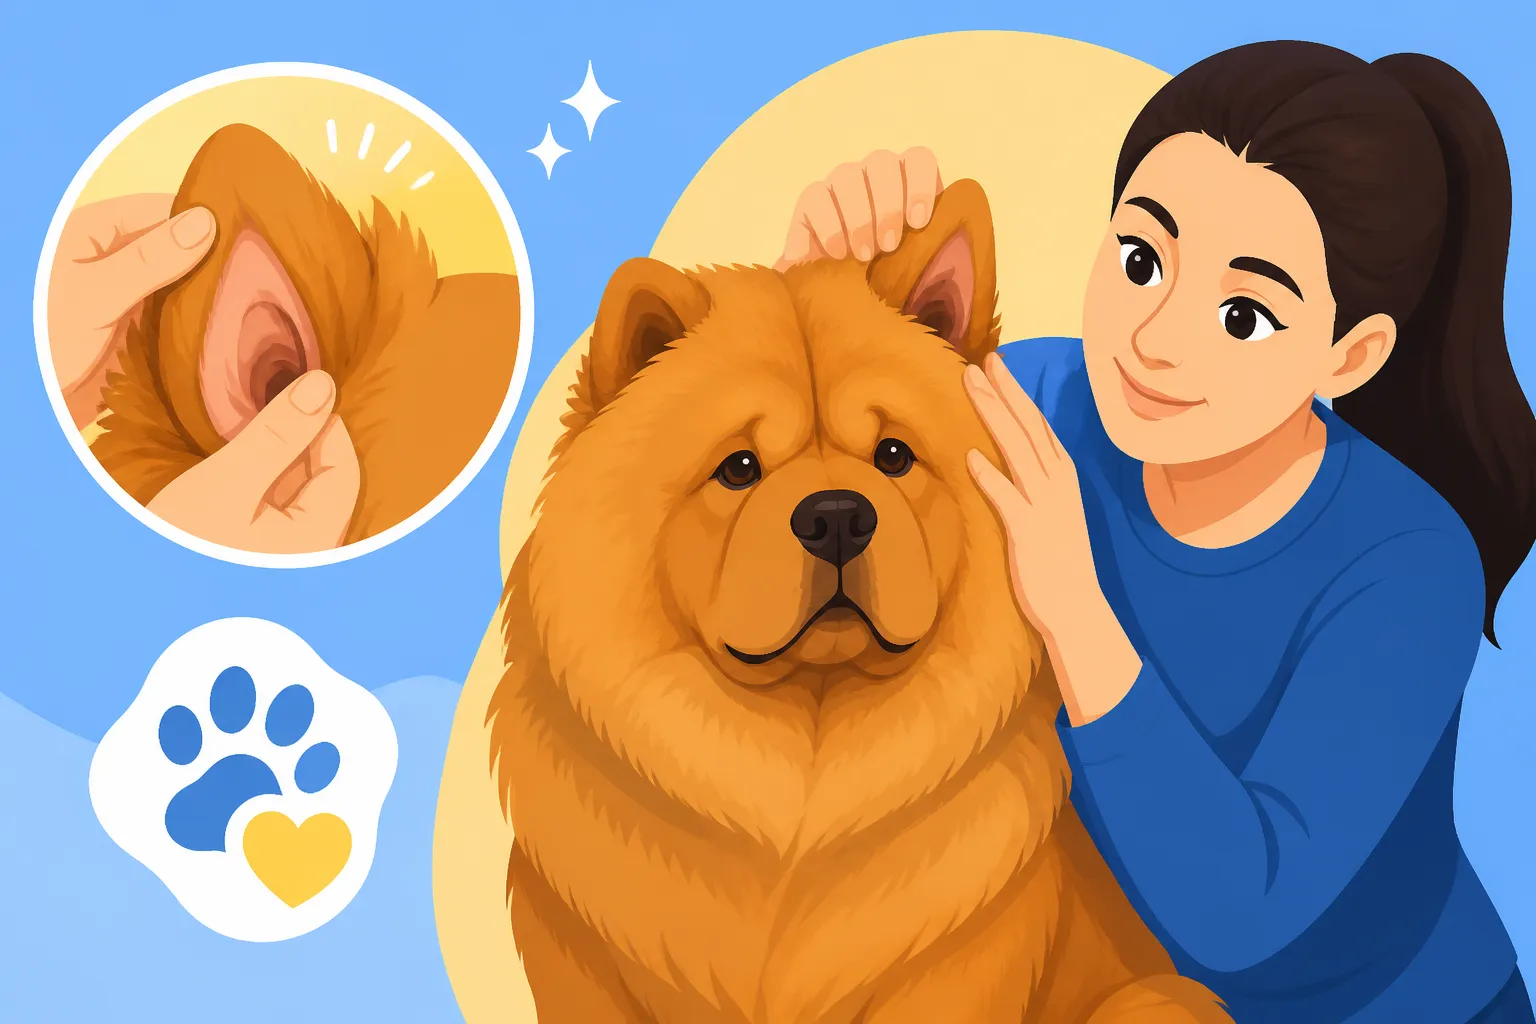
- Lift the Ear Flap: Gently lift one ear flap. Give a treat. Look for redness, discharge, or any unusual odors. Just a quick glance at first.
- Inspect the Visible Canal: Still holding the ear flap up, try to gently pull back the surrounding fur to get a better view of the outer part of the ear canal. Again, give a treat. Look for any debris, excessive wax, or inflammation. If you see signs of infection (strong odor, dark discharge, excessive redness, swelling, or pain), stop here and contact your vet.
- Gentle Wipe (if needed): If the ear appears healthy and your vet has recommended cleaning, put a small amount of the ear cleaner on a cotton ball. Gently wipe the visible folds and surfaces of the outer ear, being careful not to go deep into the canal.
- Reward Heavily: After each step, especially if they remained calm, provide a jackpot of treats and verbal praise. The goal is to make them think, "Wow, ear checks mean delicious things!"
- Repeat for the Other Ear: Once one ear is done and they're still calm, repeat the process for the other ear. Don't rush.
- End on a Positive Note: Even if you only managed a quick peek, end the session while your Chow is still calm and positive. You can always try again later or tomorrow.
Here’s a simplified breakdown of the desensitization process:
| Step | Action | Reward | Goal |
|---|---|---|---|
| 1. General Touch | Gently stroke shoulder/back. | Treat + Praise | Associate human touch with positive outcomes. |
| 2. Head & Neck Touch | Gently stroke head/neck. | Treat + Praise | Desensitize to touch near the head. |
| 3. External Ear Touch | Lightly touch outside of ear flap. | Treat + Praise | Accept touch directly on the ear. |
| 4. Ear Flap Lift | Briefly lift ear flap. | Treat + Praise | Tolerate the ear being manipulated. |
| 5. Quick Peek | Briefly look inside visible canal. | Treat + Praise (Jackpot if calm!) | Allow visual inspection of the ear opening. |
| 6. Introduce Scent/Sound (if using cleaner) | Let Chow sniff cleaner bottle/cotton ball. | Treat | Neutralize fear of ear cleaning supplies. |
| 7. Gentle Wipe (Outer Ear) | Wipe outer ear folds with damp cotton ball (vet approved cleaner). | Treat + Praise | Accept gentle cleaning of accessible areas. |
Consistency is your best friend here. Short, frequent, and positive interactions will yield far better results than long, infrequent, or confrontational ones. Remember, a Chow Chow that is comfortable with ear handling will also have a much easier time at the vet, reducing the need for more invasive handling or even sedation during routine exams. Why a Chow Chow Is Hard to Examine at the Vet often stems from a lack of cooperative care training, and ear checks are a perfect place to start.
Addressing Setbacks and Seeking Professional Help
Even with the best intentions and consistent effort, you might encounter bumps in the road. It's crucial to know when to back off and when to call in the cavalry.
Recognizing Signs of Discomfort or Aggression
Chow Chows are not always overtly expressive. Their signs of discomfort can be subtle, especially if they've learned that direct protest doesn't get them what they want. It’s vital to be a keen observer of your dog’s body language.
Look for these signals:
- Lip Licking or Yawning: Often out of context, these can be stress signals.
- Head Turning Away: Your Chow might try to avoid eye contact or turn their head to create distance from your hand.
- Body Stiffening: Their body might become rigid, or they might freeze in place.
- Whites of Eyes Showing (whale eye): If you see the whites of their eyes, it's a clear sign of stress or anxiety.
- Low Growl or Snarl: This is a clear warning that they are severely uncomfortable and need space.
- Snapping or Biting: If it gets to this point, you've gone too far, too fast, or missed earlier signals. This is their last resort to say "stop!"
If you see any of these signs, immediately stop what you're doing, calmly remove your hand, and give your Chow space. Do not punish them for growling or snapping; they are communicating their distress. Punishing these warnings can teach them to suppress the warning signs and go straight to a bite next time. It's far better that they tell you they're uncomfortable. Understanding Signs a Chow Chow Is Uncomfortable is paramount to preventing escalation.
When to Consult a Professional Trainer or Vet
Sometimes, the challenge is simply too great to tackle alone, or you might hit a wall in your progress. That’s perfectly normal, and it’s a sign that you need specialized help.
- If Progress Stalls or Aggression Escalates: If your Chow Chow remains highly resistant, growls, or tries to bite despite consistent, gentle efforts, it’s time to bring in a professional. A certified professional dog trainer (CPDT) specializing in force-free, positive reinforcement methods can assess the situation, identify triggers, and develop a personalized training plan. They can also teach you advanced handling techniques and help you read your Chow's body language more accurately. Remember, Why a Chow Chow Shuts Down Under Pressure means that harsh methods will always backfire.
- Suspected Underlying Pain or Infection: If your Chow suddenly becomes resistant to ear handling, especially if they were previously tolerant, the first step should always be a veterinary check-up. There might be an underlying ear infection, allergy, foreign body, or other painful condition that needs medical attention. Trying to train through pain is unfair to your dog and can worsen their aversion. Your vet can diagnose and treat any medical issues, making subsequent handling much easier. They can also advise on Whether a Chow Chow Needs Sedation for a Checkup if the resistance is extreme, ensuring a thorough exam can be performed safely.
- Fear-Free Veterinary Practices: Many veterinary clinics now offer "Fear Free" visits, where they prioritize reducing stress and anxiety for pets. They use specific techniques, calming environments, and sometimes pre-visit medication to make procedures like ear checks less traumatic. If your Chow has severe anxiety about vet visits, seeking out a Fear Free certified practice can be incredibly beneficial.
Teaching your Chow Chow to accept having their ears checked is a journey, not a destination. It requires immense patience, consistency, and a deep well of empathy for your dog's perspective. But by investing the time and effort, you'll not only ensure better health outcomes for your Chow but also strengthen the bond of trust between you. A Chow that trusts you with their vulnerable spots is a Chow that truly feels safe and loved.
Disclaimer
This article is for general informational purposes only and does not constitute professional advice. Laws, prices and regulations vary by location and change over time. Consult a qualified professional for guidance on your specific situation.